
Omeka S Tutorial
A very basic tutorial on Omeka S
Welcome to the wonderful world of Omeka S. This tutorial will provide you with the basic tools you will need to start working with Omeka S. For this tutorial we recommend that you follow along on one of the Omeka S Sandbox accounts. Keep in mind that these accounts wipe all data a few times per week as they are meant for demo use only.
Another excellent resource is the Omeka S Manual which explains each option in the Omeka workspace in great detail.
Step 1 - Plan your site
Before you start making a site with Omeka S it is important to plan out what your site will be about. Think about what resources you want to have on your site, how many pages you will have and what the contents of each page will be. Make sure to come up with a meaningful title and site summary as well. For this tutorial the theme will be Canadian Prime Ministers.
Step 2 - Make an Item Set
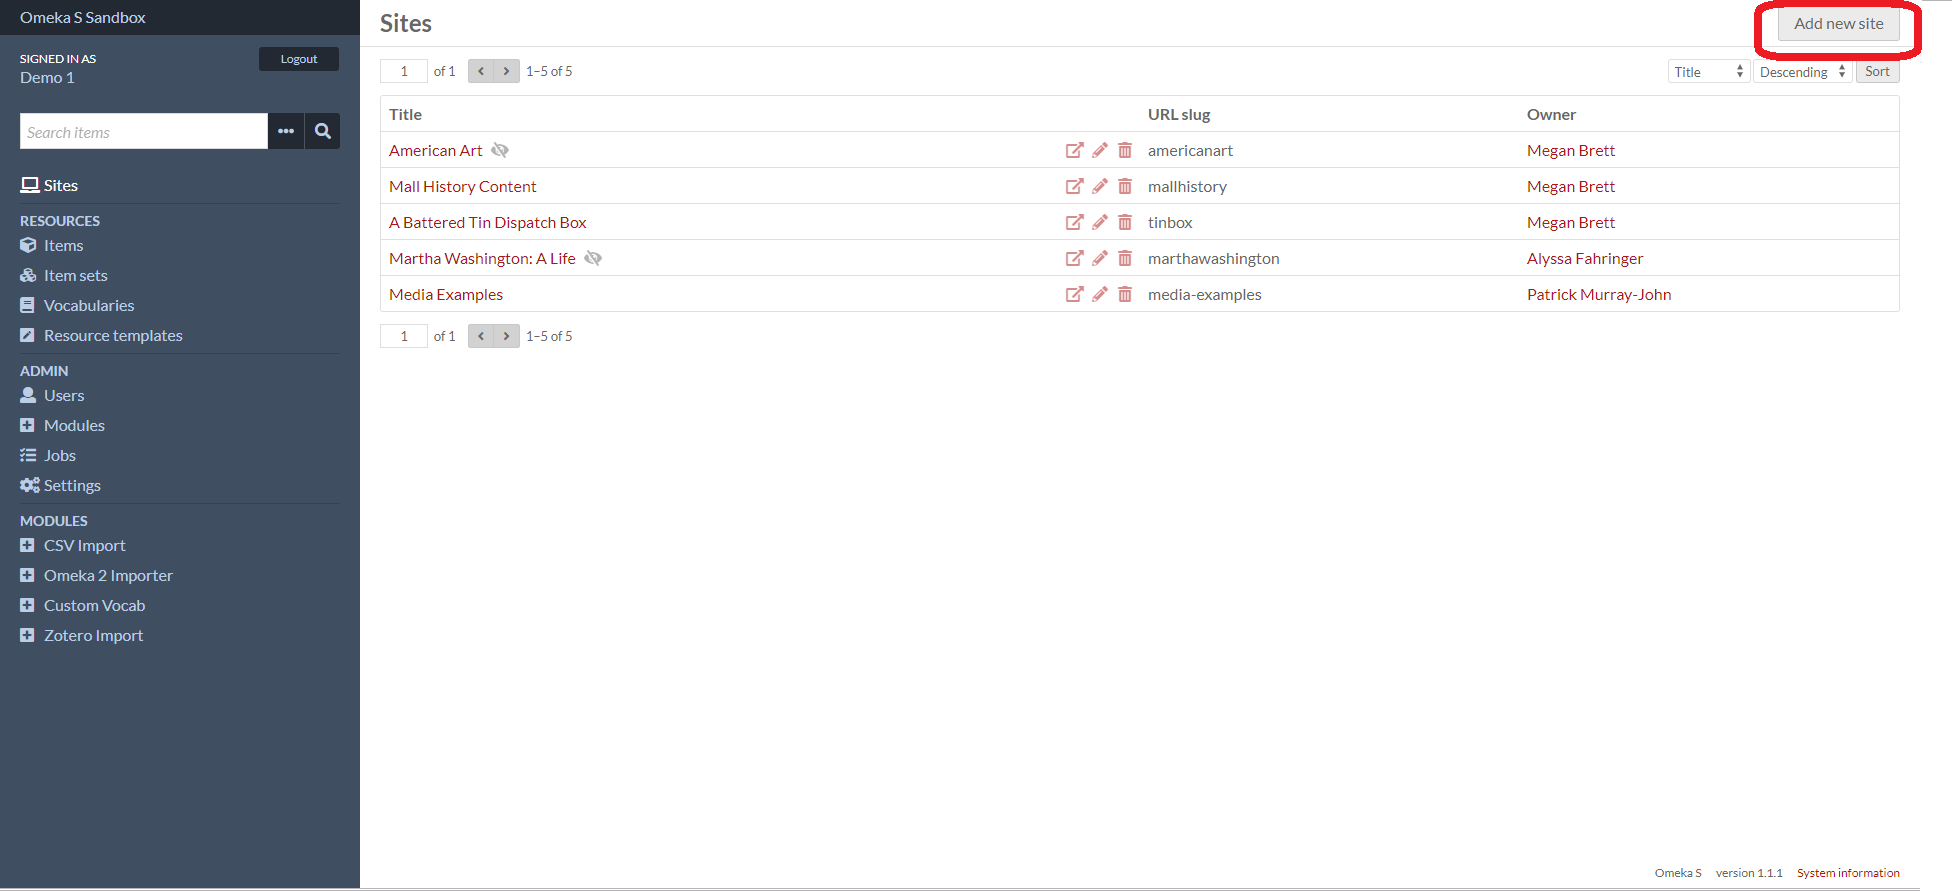
- Log in to Omeka S. You should arrive at a Dashboard that looks something like this:

- From the navigation menu on the left side click on “Item Sets” under the “Resources” heading.
- Click on the “Add new item set” button in the top right corner.
- An item set stores all of the items you will use for your site. You can use multiple item sets for a single site but for this tutorial we will just use one. In the text box for title write “Canadian Prime Ministers” and in the description box type “My favorite Canadian Prime Ministers”. You can add other properties to your item set using the panel on the right but in most cases all you will need is Title and Description.
- Click the “Save” button at the top right of the page.
Step 3 - Make a Site
- In the navigation panel on the left click on “Sites” then click “Add new site” in the top right corner.
- Here you will add a title for your page. Type “Canadian Prime Ministers” into the title field. You can also add a URL slug if you want to. The URL slug is the part of the URL that come after the website name. If you leave the slug field blank Omeka S will simply make one for you based on the title you chose.

- Next click on the “Theme” tab. Here we will choose what theme suits our need best. For this tutorial we will choose Center Row.
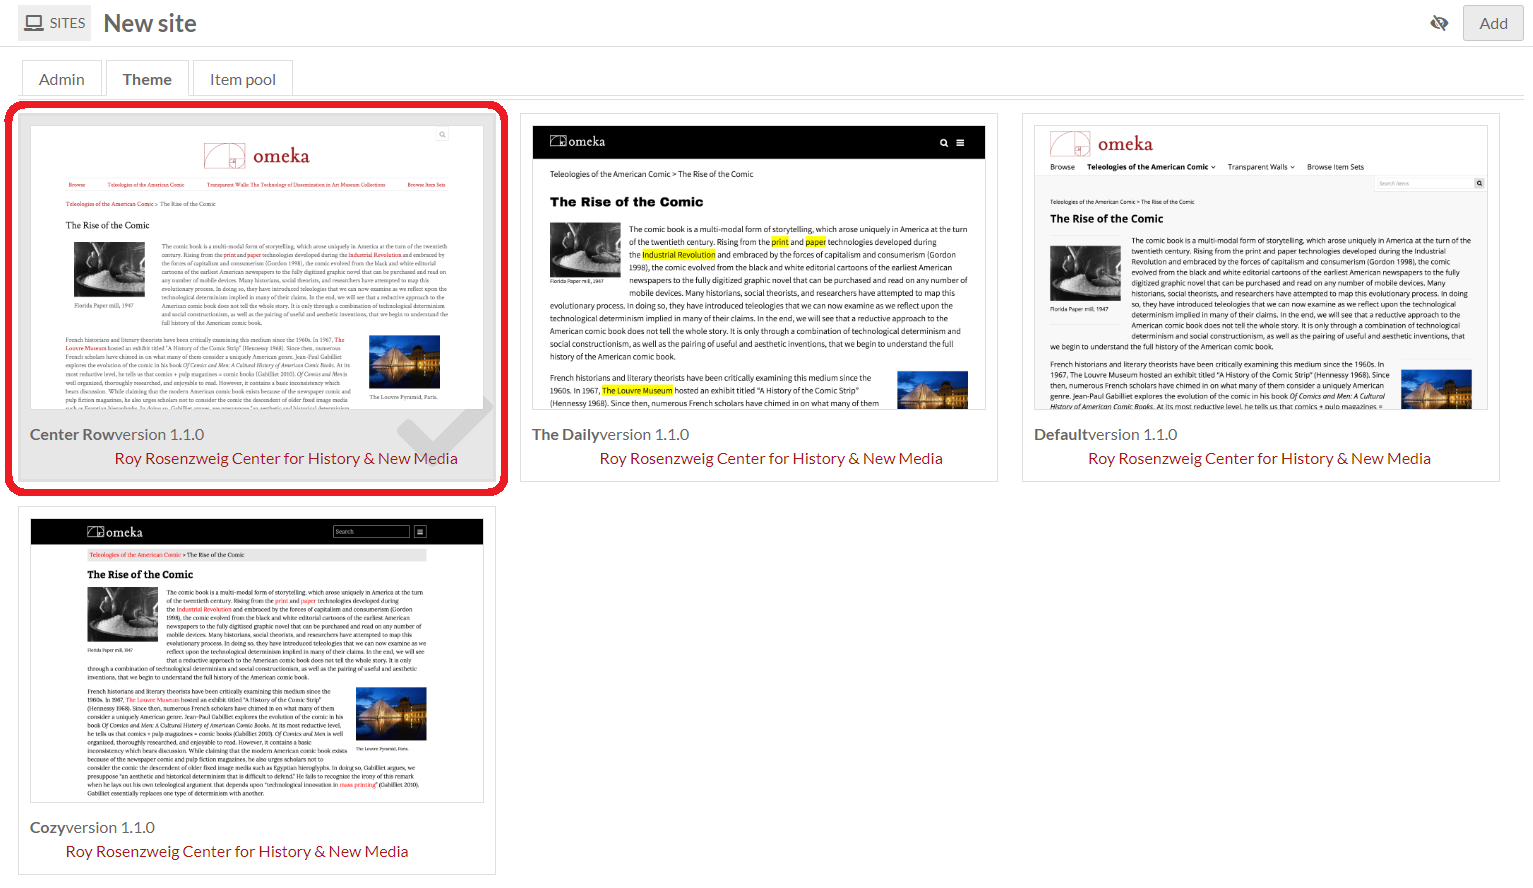
- Click the “Add” button in the top right corner to create our site.
Step 4 - Items
- Now that we have a site we need items to add to it. Items in Omeka S are not the simple files that you may be used to working with. Omeka S allows you to add all sorts of metadata to each item so it might be helpful to think of items in Omeka S as a collection of metadata referencing a central topic. To make a new item start by clicking on the “Items” button under the “Resources” heading in the navigation menu. Here you will see a list of all the public items on this Omeka S server. Click the “Add new item” button in the top right corner.
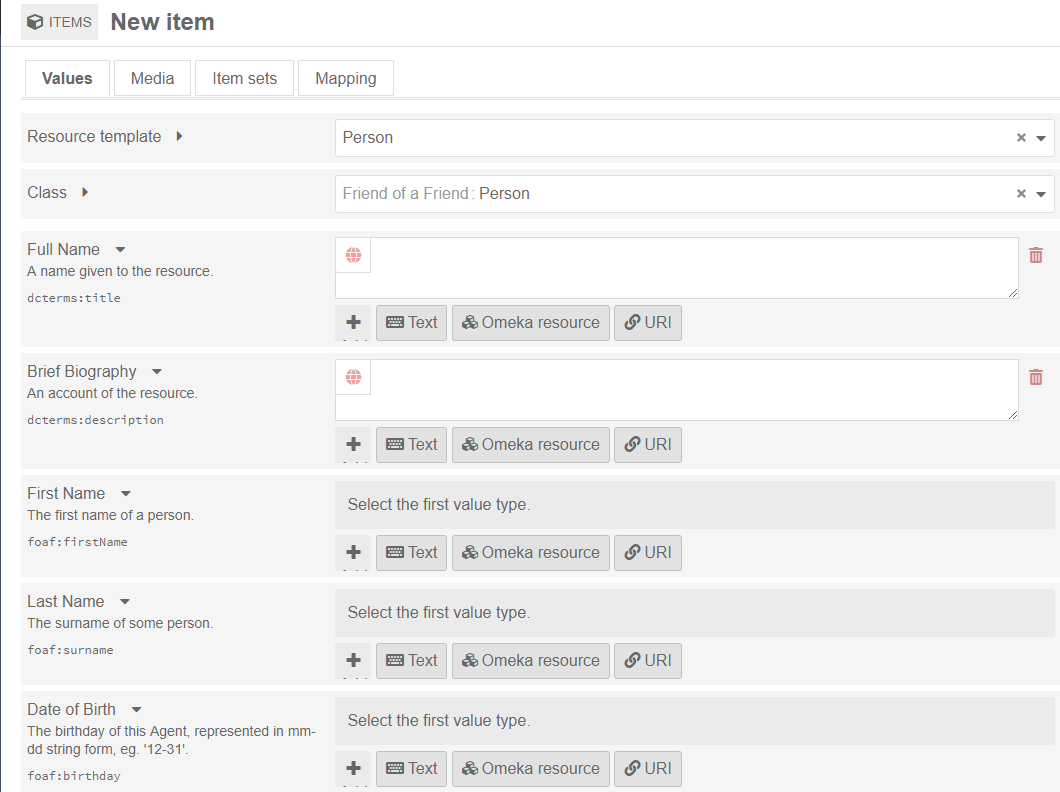
- Now we need to add data to our item. When making a new item the first thing you want to do is decide what metadata that item will have. There are two options for this. You can either add metadata fields using the menu on the right by opening the section for your prefered metadata vocabulary and clicking a field to add it, or you can use a resource template. The Sandbox has pre-made resource templates covering most broad topics. You do not need to select a resource template. A Resource template is simply a tool that allows you to make multiple items that have the same properties more easily. For this example we are going to select “Person” from the resource template list. Selecting a resource template will automatically choose the class and add all of the properties that are relevant to that type of resource.
- Next we need to select a class for our item. If you selected “Person” from the resource template drop down, then the class should be “Friend of a Friend: Person”. If not then select the drop down, scroll down to the “Friend of a Friend” section and select “Person”. Choosing an accurate class for your item is important because later on it will allow you to group similar items together more easily.
- Now we add properties to our item. There are more than one-hundred different properties that you can add to your items using the vocabularies that come with Omeka S. By default you will have the title and description properties on your item. Using the panel on the right side you can search for different properties from the vocabularies you have access to. For this example we are making a person our item so we would want properties like; Name, Brief Biography, Date of Birth, etc. If you selected the “Person” template then these properties will have been selected for you as shown below. Feel free to add any other properties you think may be relevant by using the menu on the right.
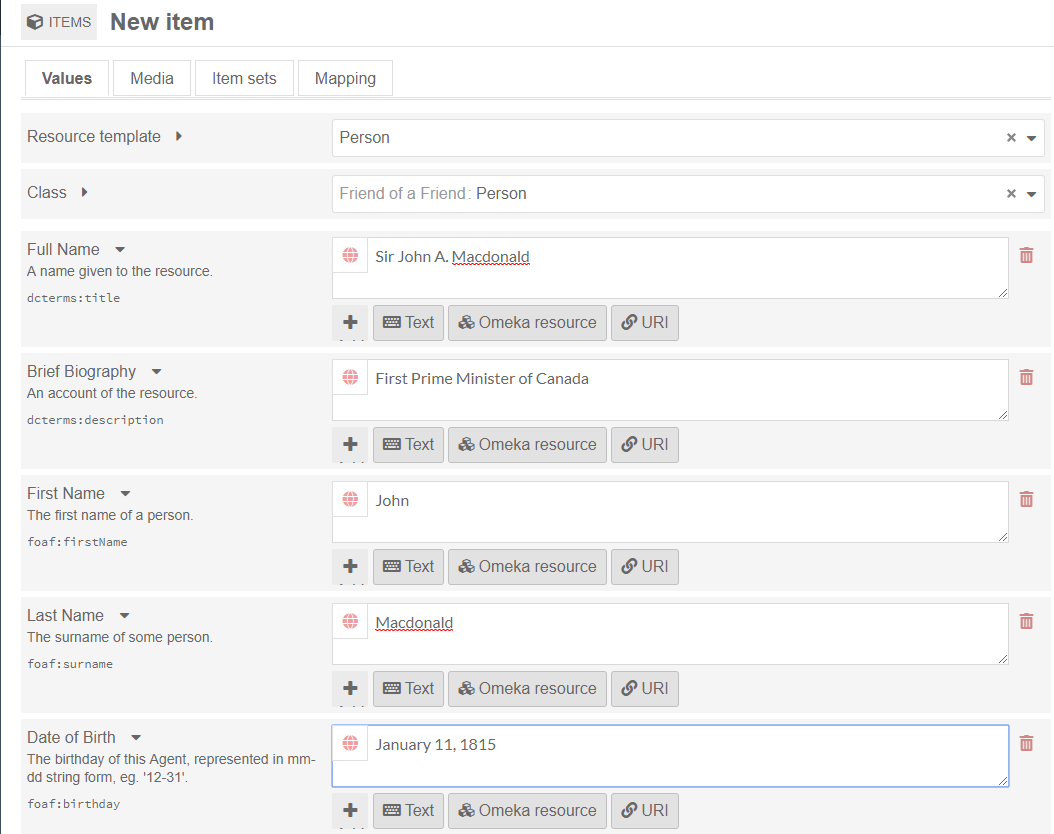
- Next we will describe each property using values. Each property can be defined using any number of values, in any combination and in quantities of three types. This can be confusing so we will break it down. The three values that can be used to define a property are: Text, Omeka Resource, and URI. For each property you select one or more value types by clicking the button for it on the property’s bar. Text values are simply text added to a text box describing the property. Omeka Resources are other items or item sets in Omeka that you want to use to describe the current property. URI’s are used to link to pages that describe the property. For now we will just use text values and we will use Sir John A. Macdonald as our subject.
- Click on the media tab. Here we can add media that helps define our item subject. This is where you can add images and files, websites, HTML content, IIIF images via URL, oEmbed URL’s, and videos from YouTube. Feel free to add any content you like.
- Next is the Item sets tab. This is important. From the menu on the right side find the item set we made at the start of the tutorial and select it. This will allow us to easily connect the items we want to our site and exclude unwanted items.
- Next is the Sites tab. This is also important. This is a new tab added in Omeka S version 3.0. In this tab you must select which site the item will be assigned to. This will allow that item to be used on that site.
- Lastly is the mapping tab. Here we can select a location that is relevant to our subject. This tab may not be available if you do not have the mapping module installed. For Sir John A. Macdonald you could select his home country of Scotland, his grave site, the parliment building in Ottawa, or any other relevant locations. Once you are done click “Add” in the top right corner.
- Repeat this process for two more Prime Ministers of Canada of your choice.
Step 5 - Pages
- Now that we have items we need to display them. This is where pages come in. Click on “Sites” in the navigation menu and then click on our Canadian Prime Ministers site from the list. You will see that new options have been added to the navigation menu. Click on “Pages”.
- Currently we only have the default welcome page available to us. We want our landing page to be one that we make ourselves so click the trash can icon beside the welcome page and then confirm the deletion. You should now have no pages. Click “Add new page” in the top right.
- Make the title “Prime Ministers” and then check the “Add to navigation” box. The “Add to navigation” button will add a link to this page onto the navigation bar at the top of all of your pages so you can easily navigate your site. Click “Add” at the top right. We now have a new page to work with.
- Click on the pencil icon for the Prime Ministers page. We are now in the page editor where we will build our webpage.
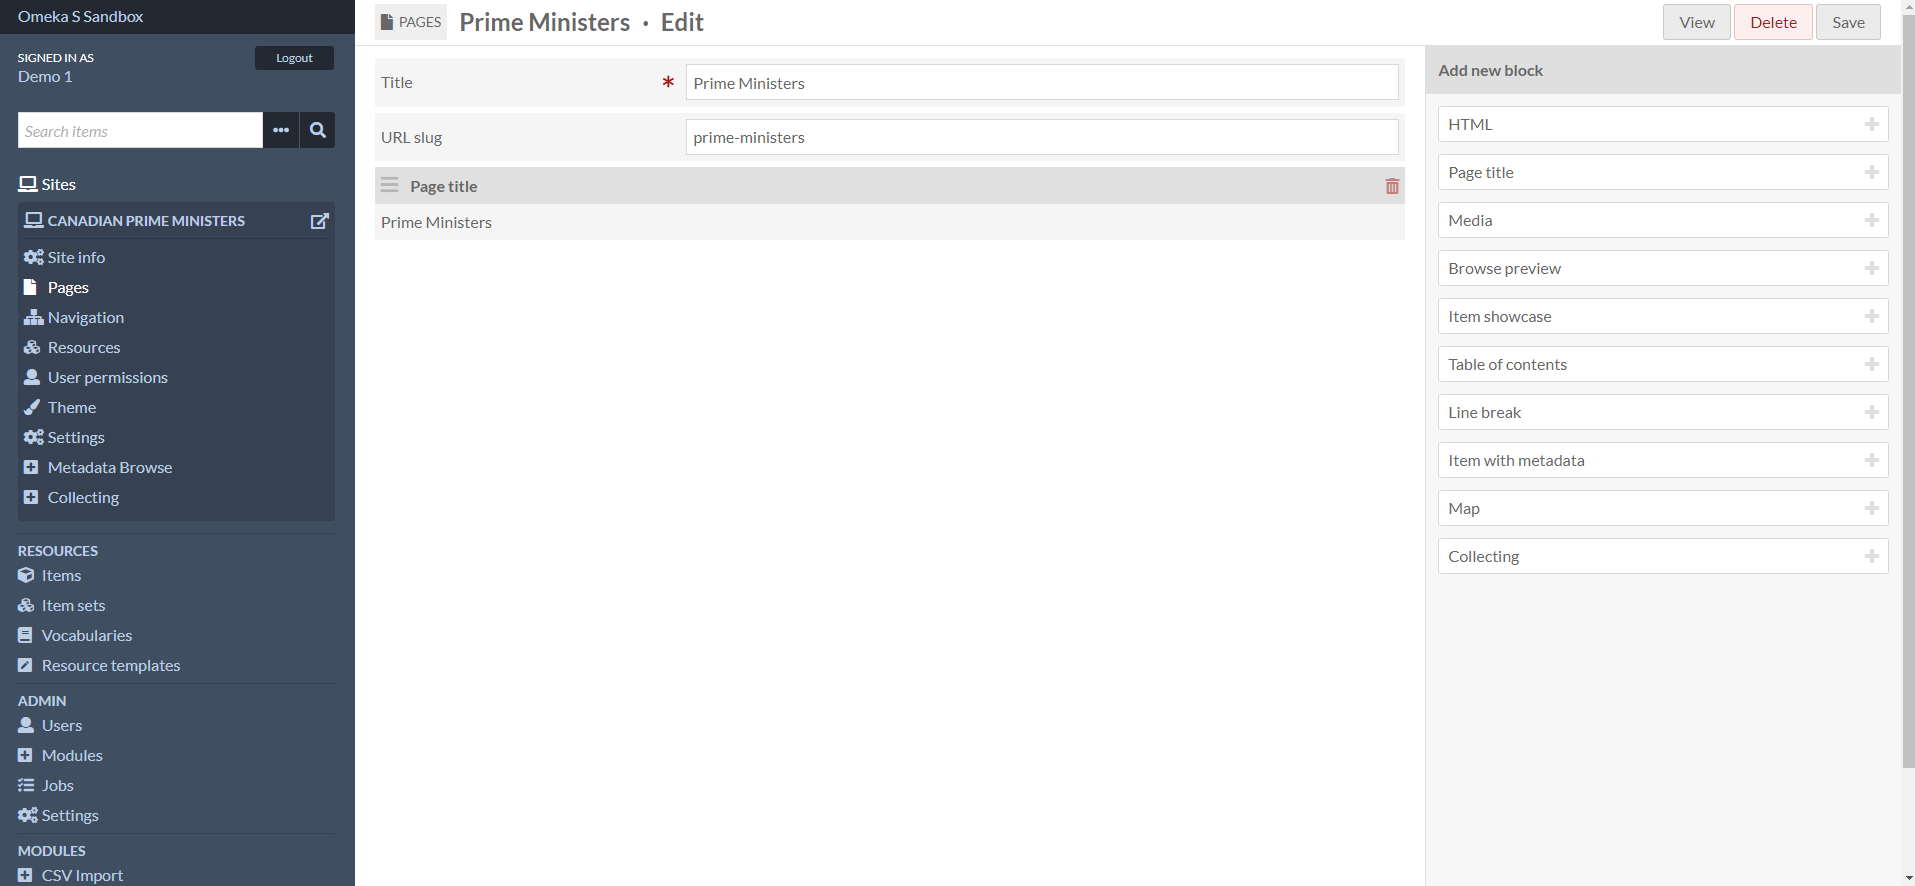
- There are a great deal of tools available here for making your webpage look the way you want it to. Omeka S pages are made up of blocks that contain different things. Blocks can be added from the menu on the right and can be removed by clicking the garbage can on the associated block. Blocks can also be re-arranged simply by clicking on the icon on the top left of the block and dragging it up or down in the order. Keep in mind that the theme you choose for your site will affect different blocks in different ways.
- New pages will automatically have a title block already. The title block displays the title of the page in a large font. You can also add an HTML block to your page which will provide you with a text box that you can use to add text to your page. You can make adjustments to how the text looks using the tools that pop up when the text box is selected.
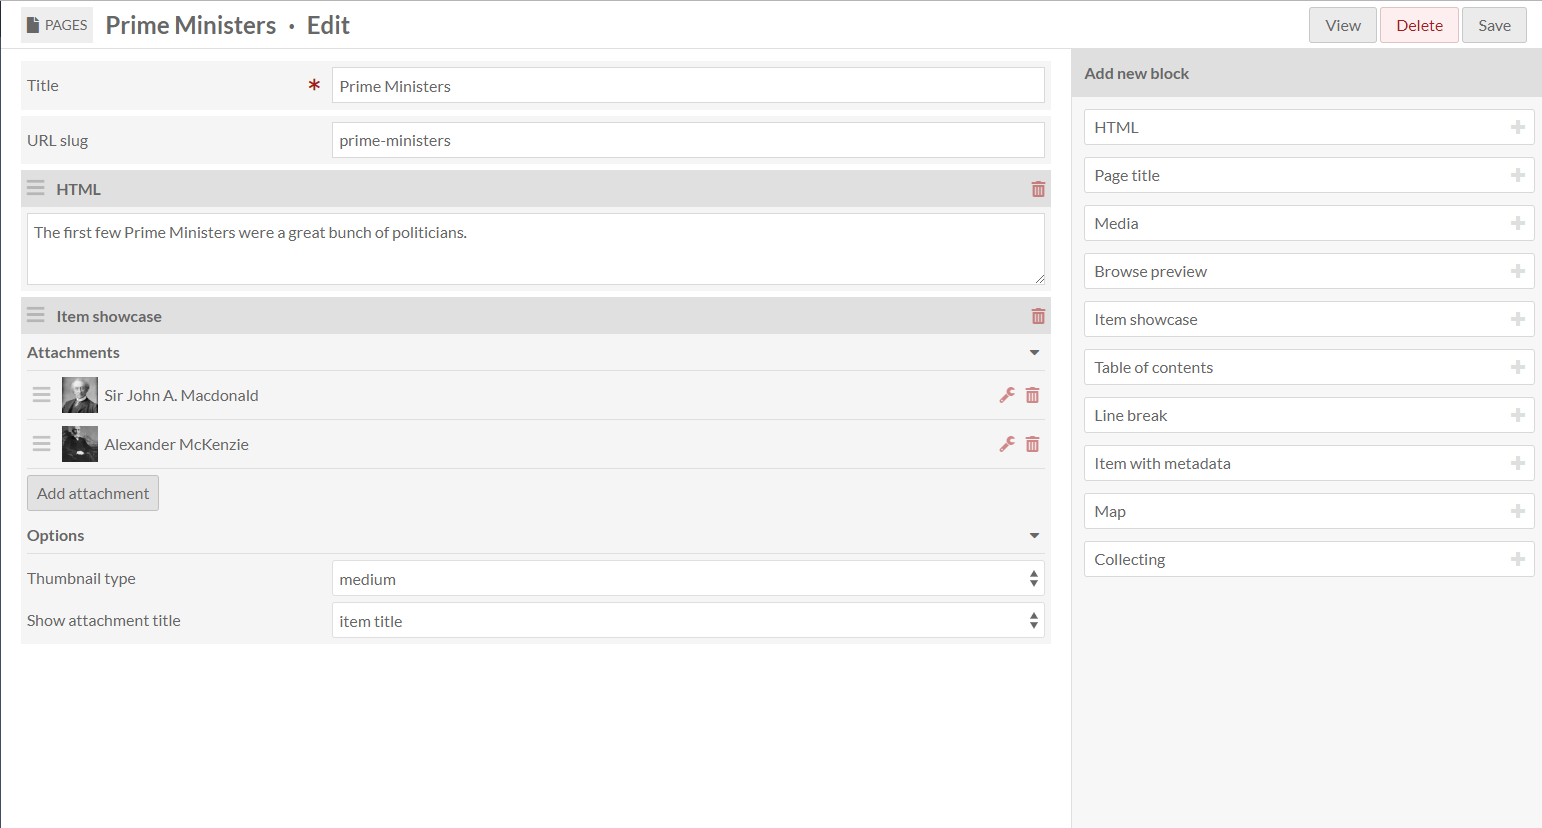
- Another useful block is the Media block. Remember the media tab from when we were creating items? Anything that you added to an item from the media tab can be called upon by the media block as an attachment. Add a media block and then click the “Add attachment” button. Select which item has the media that you would like to display and then select which piece of media you want to use. You can also add a caption to the media which is especially useful if you are adding a picture to your page. Once you have chosen your media and made a caption click “Apply changes”. You can add multiple pieces of media to the same block. After adding all of your media select whether you want it to be displayed as large, medium or square; select your prefered alignment; and then choose whether or not you want the titles of the item that the media is from, the title of the media itself, or no title, to be displayed beneath each piece of media.
-
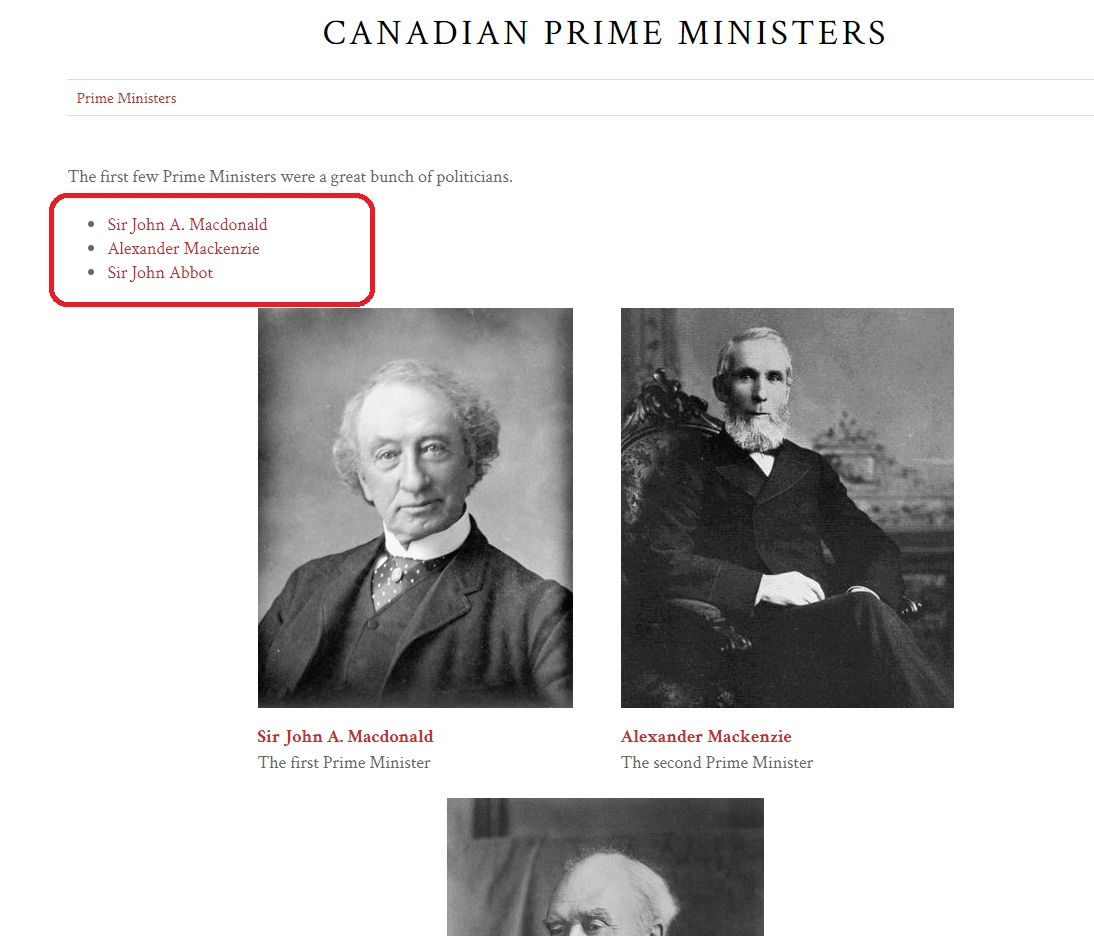
The Item showcase block works much the same way as the media block except that it can display items that have no media and it can place the displayed items side by side instead of on top of each other depending on the theme you use.
-
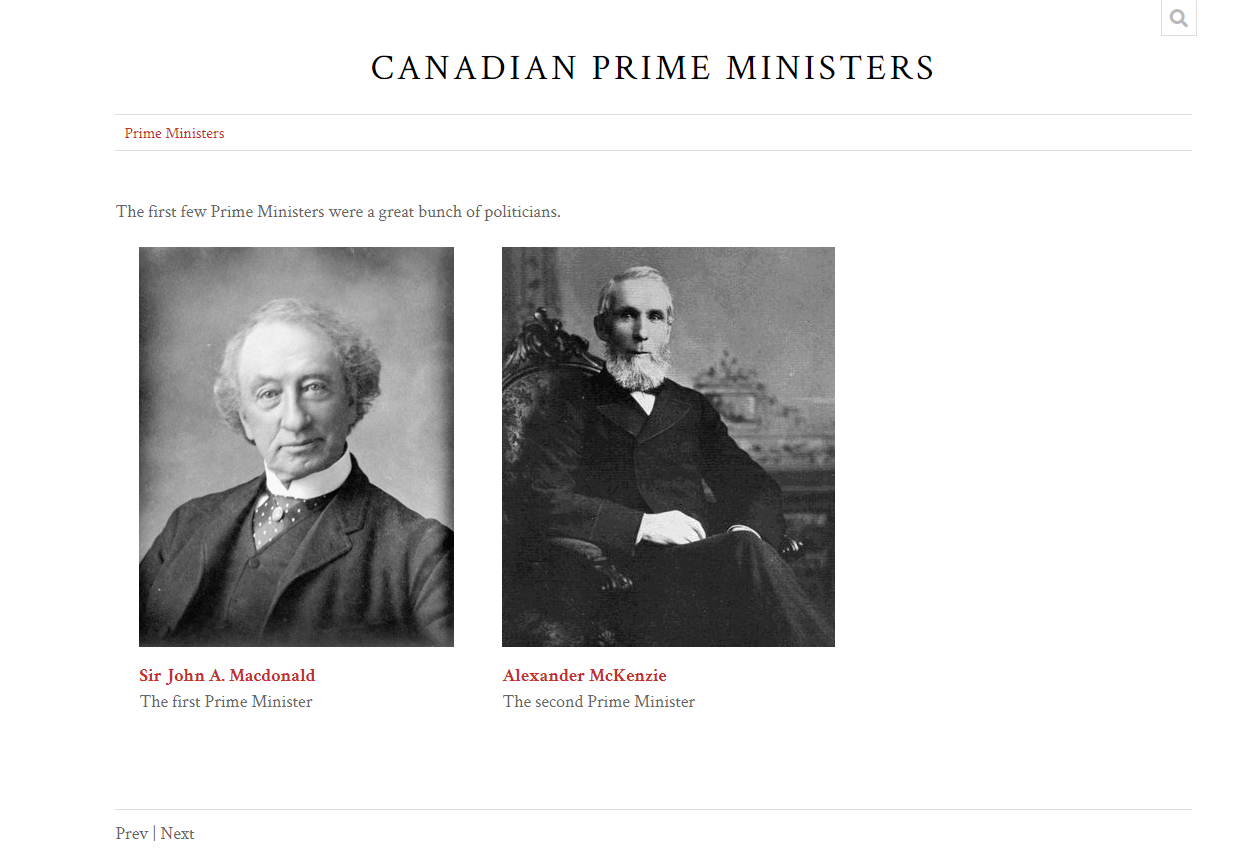
When you are done editing your page or you just want too see what your page looks like click the save button at the top right and then click “View”.
- Once you have made a few pages and organized them how you see fit, you can make use of the Omeka S page navigation options. On the side bar when you have your site selected you will see a “Navigation” button. This is where you can set up the hierarchy of your pages by dragging them onto each other like below.
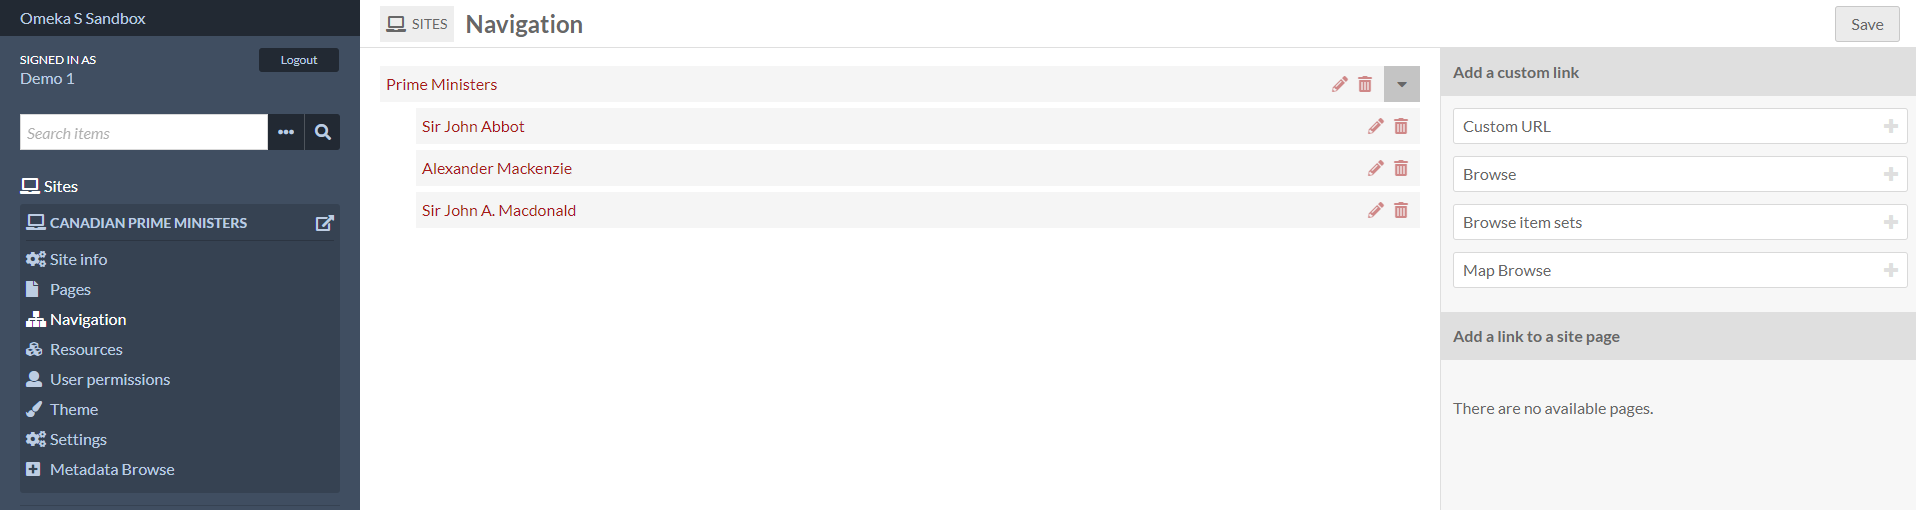
- Once you have a page hierarchy set up you can use the table of contents block. In the parent page (Prime Ministers in the example above) add the table of contents block and choose how many layers deep you want it to go. In our example all of the other pages are under the Prime Ministers page so we only have one layer. Keep in mind that making a page into a subpage removes it from the main navigation bar for your site. Below we have made a table of contents for our subpages.
Step 6 - Make your site public
- Go to the site’s page. You will notice that some sites have an eye with a line through it beside the name. This means that the site is private and can only be viewed on Omeka S by users who have access to it. To make a site public select the pencil beside the site’s name. At the top right of the page you will see an eye. This is the toggle that allows you to make your site public or private.
And just like that you have an active exhibit!
This tutorial is brought to you by the Brock University Digital Scholarship Lab. For more information on the DSL check out our website at www.brocku.ca/library/dsl/ or you can e-mail us at dsl@brocku.ca.